How to Install a Sand, Carbon & Water Softener Filtration System
Oct 31, 2026
How to Install a Sand, Carbon & Water Softener Filtration System
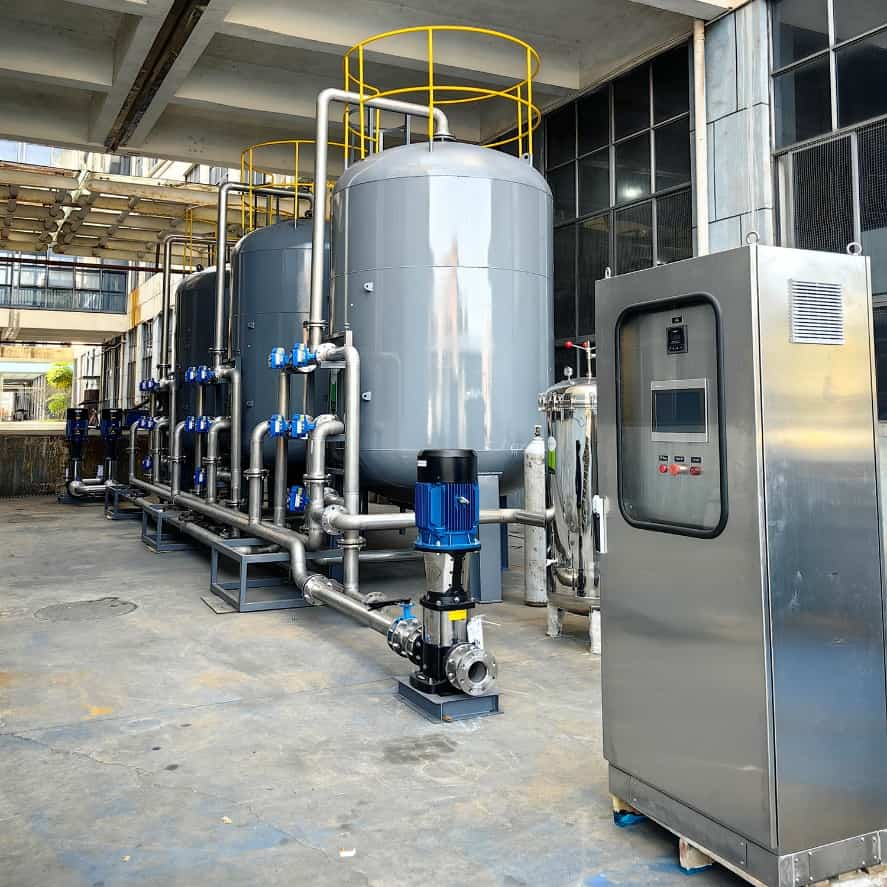
Installing a sand filter, activated carbon filter, and water softener in the correct sequence is essential for effective water treatment and protecting downstream equipment.
This guide explains the basic installation procedures, including filter media loading, pipeline connections, and system commissioning. A step-by-step installation video is also provided to help customers complete the installation more easily.
1. Correct Installation Sequence
The recommended installation sequence is:
Sand Filter → Activated Carbon Filter → Water Softener
Sand Filter: Removes sand, silt, and suspended solids to prevent downstream equipment from clogging.
Activated Carbon Filter: Reduces residual chlorine, taste, odor, and certain organic compounds.
Water Softener: Removes calcium and magnesium ions to reduce water hardness and prevent scale formation.
This sequence helps protect the softening resin from chlorine oxidation and prevents suspended particles from prematurely clogging the carbon filter.
2. Step-by-Step Installation Guide
The following video demonstrates the installation process of the sand, carbon, and water softener filtration system.
https://www.youtube.com/shorts/Jm-eexlhjCI
2.1 Sand Filter Installation
Site Preparation: Place the filter tank on a level, solid surface with sufficient space for maintenance.
Internal Components: Connect the bottom distributor to the central riser pipe and place the assembly inside the tank.
Media Loading: Add supporting gravel first, followed by filter sand. Adding some water before loading helps protect the bottom distributor.
Valve & Piping: Install the control valve and connect the inlet, outlet, and backwash drain pipes according to the marked flow direction.
2.2 Activated Carbon Filter Installation
Installation Position: Place the carbon filter after the sand filter and ensure access to a suitable drainage point.
Media Loading: Load the activated carbon according to the specified quantity. Wear a dust mask to avoid inhaling carbon fines.
Piping Connections: Connect the inlet, outlet, and backwash drain lines. Check all connections and install a bypass valve for convenient maintenance.
2.3 Water Softener Installation
Site Preparation: Ensure the installation area is level, dry, and close to a drainage point and electrical outlet if required.
Water Connections: Shut off the water supply and connect the softener inlet and outlet according to the control valve markings. Install a bypass valve.
Drain & Brine Lines: Connect the control valve to the drain and brine tank according to the manufacturer's instructions.
Salt & Electrical Setup: Add water softener salt to the brine tank and connect the control valve power supply if applicable.
3. System Commissioning
After installation and media loading, perform the following checks before putting the system into operation.
1. Check for Leaks
Slowly open the water supply and inspect all pipeline connections, valves, and tank fittings for leakage. Release trapped air from the system.
2. Initial Backwashing & Rinsing
Set the sand and carbon filter valves to Backwash mode. Flush each filter until the discharge water runs clear, then switch to Fast Rinse to settle the media bed.
Important: Thorough initial backwashing and rinsing are essential, especially when the filtration system is connected to an RO system. Residual sand or carbon fines may enter and foul downstream RO membranes.
3. Program the Water Softener
Set the water hardness, regeneration time, and other operating parameters according to the raw water test results and equipment manual.
4. Initial Regeneration
Run a manual regeneration cycle according to the manufacturer's instructions to prepare the resin for normal operation.
5. Start the System
Once the filters have been properly rinsed and the softener regeneration is complete, switch the control valves to Service mode and check that the system operates normally.
4. Installation Tips & Maintenance
Bypass Valves: Install bypass valves to isolate individual units during maintenance without interrupting the entire water supply.
Regular Backwashing: Backwash sand and carbon filters according to operating conditions and pressure drop.
Salt Replenishment: Check the softener brine tank regularly and add salt when necessary.
Follow Equipment Instructions: Operating pressure, backwash flow, media quantity, and control valve settings should follow the specifications of each equipment model.
5. Need Help with Your Water Filtration System?
Proper installation and commissioning help ensure stable filtration performance and extend equipment service life.
HINADA provides water treatment equipment and customized filtration solutions for industrial and commercial applications.
If you have questions about equipment installation or operation, please contact our technical team.
Read More